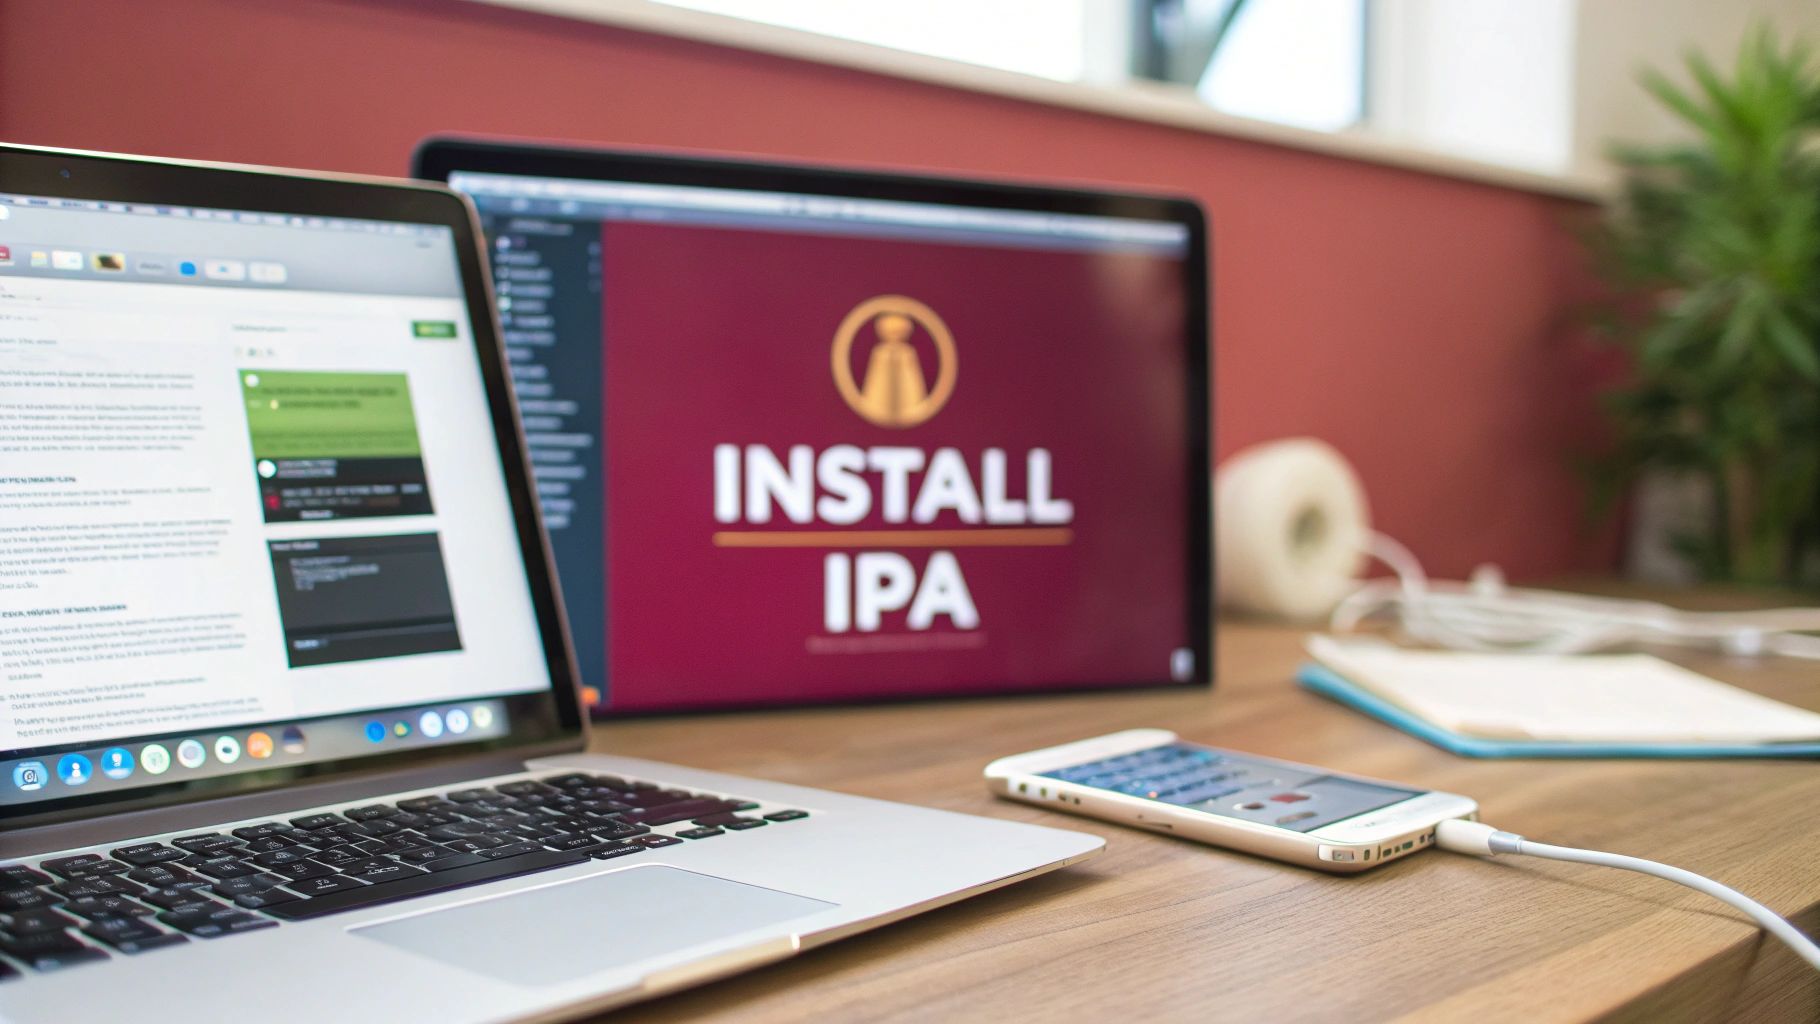
Installing an IPA file isn’t as simple as double-clicking an .exe on Windows, but it’s a completely normal part of the iOS world once you get outside the App Store. Think of an .ipa file as the iOS equivalent of a Windows .exe—it’s the full application package, ready to be installed. The process of getting it onto your device is called sideloading.
Understanding IPA Files and Sideloading

Before diving into the “how,” it’s good to know the “what” and “why.” An IPA (iOS App Store Package) file contains everything an app needs to run on an iPhone or iPad. Apple maintains a famously closed ecosystem, which is great for security but can be restrictive. Sideloading is simply the workaround—installing an app from somewhere other than the official App Store.
It’s a perfectly legitimate and often necessary practice, especially for anyone involved in app creation or corporate IT.
Common Reasons for Sideloading
You’ll find yourself needing to install an .ipa file in a few key scenarios:
- App Development and Testing: This is the big one. Developers are constantly pushing builds to physical devices to catch bugs and test features before ever thinking about submitting to Apple.
- Internal Corporate Apps: Many companies have custom-built apps for their employees—for things like sales tracking, inventory, or internal communication. These aren’t meant for the public, so they’re distributed directly.
- Beta or Pre-Release Software: Tech enthusiasts and beta testers often get early access to apps straight from the developer in the form of an .ipa file.
At the heart of every single method to install an .ipa file is a valid digital signature. This is a process called code signing, and it’s Apple’s way of confirming an app comes from a known source and hasn’t been messed with.
This security check is non-negotiable on iOS. With an estimated 1.56 billion iPhone users globally, it’s easy to see why Apple’s security policies are so strict. This massive user base is precisely why developers and enterprise teams need reliable ways to deploy apps outside the App Store.
For a deeper dive into the entire process of bringing an app to life, this ultimate guide to mobile app development is a great resource.
How to Choose the Right Way to Install Your IPA File
When it comes to installing an .ipa file, there’s no one-size-fits-all answer. The best method really boils down to your specific situation—what you’re trying to accomplish, the computer you have, and how comfortable you are with the tech involved.
A developer testing their app before it hits the App Store will use a completely different approach than a large company deploying a custom internal app to hundreds of employees.
So, where do you start? If you’re a developer working on a Mac, Xcode is your most direct and powerful option. For everyone else, including power users on both Mac and Windows who want to try out apps from sources they trust, a third-party tool like AltStore or Sideloadly is usually the way to go.
And for big organizations, Over-the-Air (OTA) distribution is the gold standard. It lets companies send app updates straight to employee devices, completely bypassing the public App Store. If that sounds like what you need, you might find our posts on enterprise app stores helpful.
Matching the Method to Your Needs
To make things clearer, think about the tools you have on hand. The chart below breaks down the decision-making process based on your computer’s operating system and whether or not you have an Apple Developer account.
As you can see, your personal setup is the biggest factor. Having a Mac and an official developer account opens up the most integrated path, but it’s far from the only way to get an app onto your device.
The key thing to remember is that each method has its own set of rules. Xcode is a Mac-only tool. Sideloading apps require a computer to get started and to re-sign them every 7 days. Enterprise solutions are designed for a centrally managed environment.
Understanding these distinctions from the start saves a lot of headaches. It helps you pick the right path for your hardware and your end goal, making the whole process much smoother.
IPA Installation Method Comparison
To help you decide at a glance, here’s a quick comparison of the most common methods.
| Method | Primary Use Case | Requires Mac | Requires Developer Account | Best For |
|---|---|---|---|---|
| Xcode Sideloading | App development & testing | Yes | Yes (Free or Paid) | Developers testing their own apps directly from the source code. |
| Third-Party Tools | Installing community apps | No (Mac & Windows) | No (Uses a free account) | Power users and hobbyists wanting to install apps from outside the App Store. |
| Enterprise/OTA | Internal corporate deployment | No | Yes (Enterprise Program) | Businesses distributing internal-use apps to managed employee devices at scale. |
Ultimately, this table shows there’s a practical solution for nearly every scenario, from a single developer tinkering on a project to a global corporation managing its fleet of devices.
If you’re an iOS developer, Xcode is your home base. It’s the most direct, Apple-approved way to get your .ipa builds onto a real iPhone or iPad for testing. This is the method we use day-in and day-out, especially for application development teams who are constantly iterating on their own builds.
Think of it as the official side door that bypasses the App Store. It’s absolutely essential for debugging, trying out new features in a live environment, and just making sure everything feels right before you ship it. For any serious developer, mastering this process is non-negotiable.
Getting Your Ducks in a Row: Xcode Prerequisites
Before you can get started, you need to make sure your setup is correct. Apple’s ecosystem is famously a walled garden, and installing apps with Xcode is no different.
Here’s what you absolutely must have:
- A Mac: Xcode only runs on macOS. No way around this one.
- The latest version of Xcode: I can’t stress this enough. Grab the latest from the Mac App Store to avoid headaches with iOS compatibility.
- An Apple Developer Account: A standard Apple ID will get you started for quick tests. But for serious, long-term development, you’ll need the paid $99/year account.
- Your
.ipafile: This is the app package you’ve either built yourself or received from a team member.
The real magic—and the most common point of failure—is the combination of the provisioning profile and the signing certificate. These two files are what convince your iPhone that the app is from a trusted source (you) and has permission to run on that specific device. Get this wrong, and the installation will fail, guaranteed.
Getting comfortable with your Apple developer certificate is a fundamental skill. It’s the digital key that unlocks your test devices.
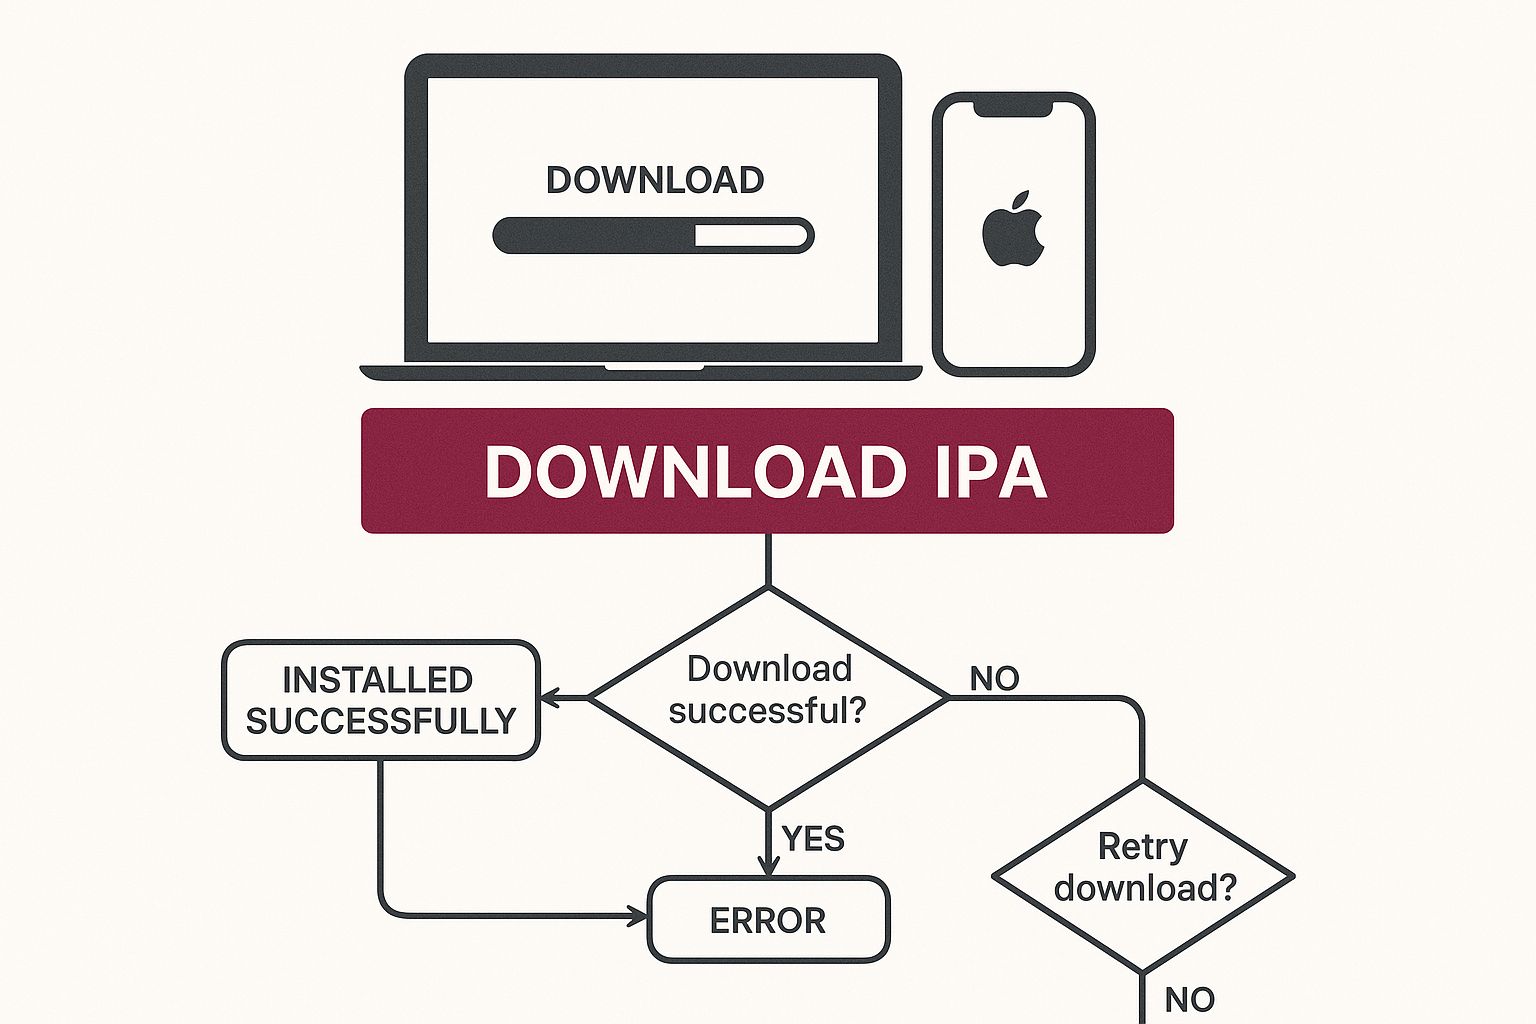
The Actual Installation Steps
With all the prep work done, the installation itself is refreshingly simple.
First, connect your iPhone or iPad to your Mac with a good old-fashioned USB cable. Fire up Xcode and find the “Devices and Simulators” window. You can get there from the top menu by going to Window > Devices and Simulators.
You’ll see a list of connected devices on the left. Just click yours. Now, find the “Installed Apps” section. All you have to do is drag your .ipa file from a Finder window and drop it right into that list. A little progress bar will pop up, and in a few moments, the app icon will appear on your device’s home screen.
Using developer tools like Xcode is the standard workflow, especially since new iOS versions are now running on over 70% of active devices. This high adoption rate means developers have to constantly test against the latest updates to ensure their apps don’t break. For a deeper dive into these trends, you can always check out Apple’s Global Ecosystem Report.
Sideloading with AltStore or Sideloadly
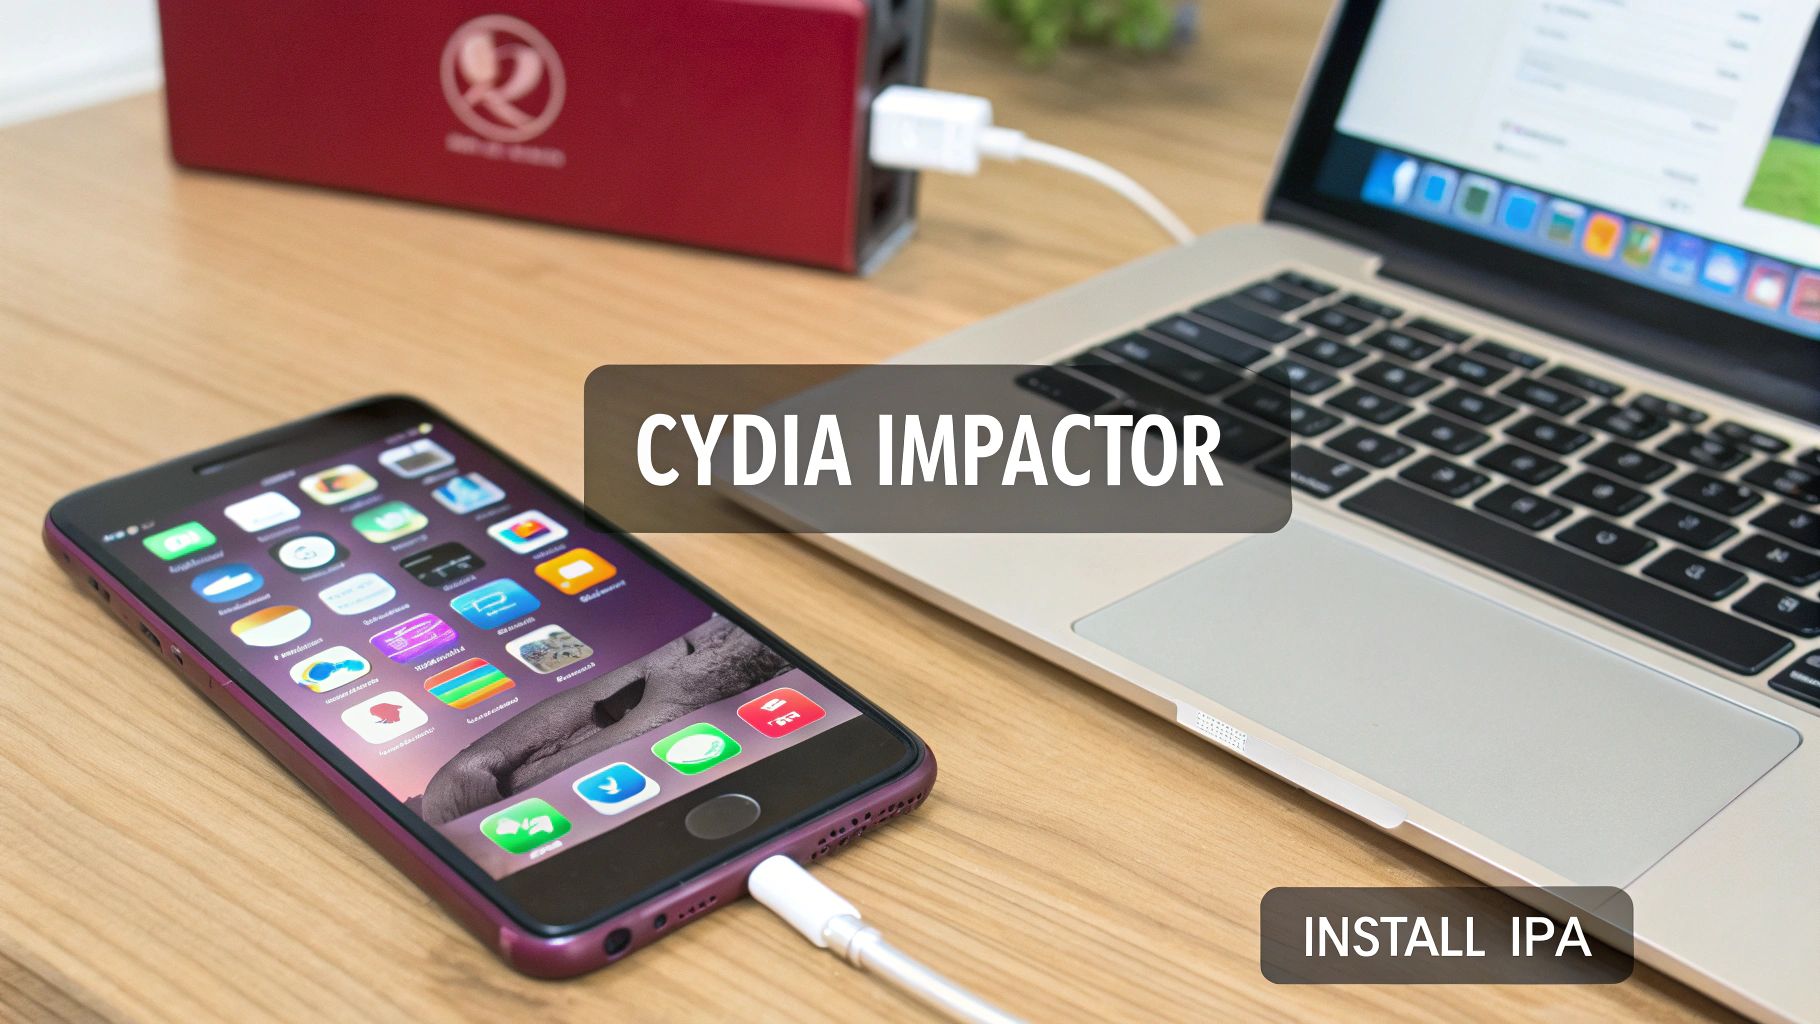
So, you aren’t a registered developer and maybe you don’t even own a Mac. Don’t worry, you’re not out of luck. For enthusiasts on both Windows and macOS, third-party tools like AltStore and Sideloadly have become the go-to methods for getting .ipa files onto an iPhone.
Think of these applications as a clever bridge between your computer and your device. They take your own Apple ID and use it to create a free, temporary developer certificate. This certificate is then used to “sign” the .ipa file, effectively tricking iOS into thinking it’s a trusted app it can run.
Understanding the Seven-Day Refresh Cycle
The most important thing to wrap your head around with this method is the seven-day limit. Since you’re using a free Apple ID, the certificate that gets generated is only good for one week. Once those seven days are up, the app will simply crash on launch until you “refresh” it.
Refreshing just means plugging your iPhone back into the computer that’s running the companion software (AltServer or the Sideloadly app). The tool quickly re-signs the app with a fresh seven-day certificate, and you’re good to go. It might sound like a pain, but it quickly becomes a simple weekly routine.
This approach is a game-changer for installing apps outside the official App Store. It’s perfect for beta testing, running internal company apps, or simply using tools that Apple hasn’t approved. It provides a crucial alternative for accessing software not found among the 1.9 million apps on the App Store.
Getting Your First App Installed
The initial setup is the most hands-on part; after that, it’s pretty smooth sailing. The first thing you’ll do is install the server software on your Mac or Windows PC—either AltServer or the Sideloadly utility. This little program just chills in the background, waiting to talk to your phone.
With the server running, connect your iPhone with a USB cable and follow the on-screen instructions to get the main app (like AltStore itself) onto your phone. Once that’s done, you can install other .ipa files right from your device.
- Initial Setup: You’ll need to install the companion software on your computer first.
- First Install: This requires a USB connection to get the main “store” app onto your phone.
- Subsequent Installs: Usually as simple as downloading an .ipa and opening it with AltStore.
This is a fantastic way to check out interesting community-built apps or test development builds from sources you trust. If you want a more detailed look at the different tools out there, our guide on IPA installers for iOS is a great next step. Just remember: only install .ipa files from developers and sources you absolutely trust. Your device’s security is in your hands.
Running into Installation Problems? Here’s What to Do
So, you’ve got your IPA file, you’ve tried to install it, and… nothing. Or worse, you get a cryptic error message. Don’t worry, it happens to everyone, and most of these issues are surprisingly easy to fix. Usually, the problem comes down to a simple communication breakdown between the app’s signature and your iPhone.
The most common culprit you’ll see is that dreaded “Unable to Verify App” pop-up. This is iOS’s way of saying it doesn’t know the developer and needs you to vouch for them. The fix is simple: head over to Settings > General > VPN & Device Management. You’ll find the developer’s profile listed there—just tap on it and then hit Trust. Problem solved.
The Certificate and Profile Puzzle
If you’re a developer or testing an app built with Xcode, you’ll likely run into errors related to signing certificates and provisioning profiles. This is where things get a bit more technical, but the logic is straightforward. An error here means the app simply isn’t authorized to run on your particular device.
This typically happens for a few reasons:
- The provisioning profile itself has expired.
- Your device’s unique identifier (UDID) wasn’t included in the profile when the app was built.
- The developer’s certificate used to sign the app is invalid or has been revoked.
Think of it this way: the provisioning profile is the bridge that connects the developer, the app, and the devices. If any part of that bridge is out of place—an old certificate, a missing device ID—the whole installation process comes to a halt.
Keeping your profiles in order is the best way to avoid these headaches. If you’re building the app yourself, it’s worth taking a moment to understand how to manage your Apple developer provisioning profile correctly. If someone sent you the IPA file, just check back with them to make sure your device’s UDID was actually included in that specific build. A quick confirmation can save you a lot of time.
Got Questions About Installing IPA Files?
When you start working with .ipa files, a few questions always pop up. It’s totally normal. Let’s tackle the big ones I hear most often so you can feel confident about what you’re doing.
Are These Files Safe to Install?
This is the most important question, and the answer is simple: an .ipa file is only as safe as its source.
Think of it this way: if you get a build directly from your company’s dev team or a trusted beta testing platform like TestFlight, you’re in good hands. But if you grab an .ipa from some random corner of the internet, you’re rolling the dice. These files could easily be bundled with malware.
Remember, sideloading skips the App Store’s security checks. That puts the responsibility squarely on you to trust where the app came from.
Do I Have to Jailbreak My iPhone for This?
Absolutely not. This is a common myth that needs busting.
Every single method we’ve walked through—whether it’s using Xcode, AltStore, or another tool—works perfectly on a standard, out-of-the-box iPhone. They all use Apple’s own developer system to install apps, no jailbreaking required.
Why Do My Sideloaded Apps Stop Working After 7 Days?
If you’ve used a tool like AltStore, you’ve probably run into this. After a week, the app just won’t open. This isn’t a bug in the tool; it’s a rule set by Apple for free developer accounts.
Your free account can only generate signing certificates that last for 7 days. When that certificate expires, the app stops launching. To fix it, you just need to connect your phone back to your computer and “refresh” the app, which generates a new 7-day certificate.
If you want to avoid this weekly routine, upgrading to a paid Apple Developer account ($99/year) gives you certificates that last a full year.
Ready to push updates to your React Native app instantly without waiting for app store reviews? Discover how CodePushGo delivers secure, over-the-air updates to your users in minutes. Explore our features.


